Case Study Summary
- Client: Private client (Melbourne, Australia)
- Device: Acer Switch (2-in-1)
- Problem: Device would not power on and the embedded eMMC memory could not be accessed normally
- Key finding: The removable drive under the keyboard (D: partition) had no user files saved to it
- Recovery method: eMMC chip-off extraction, cleaning, reballing, then sector-by-sector imaging
- Outcome: Data became accessible and files were extracted to a destination drive
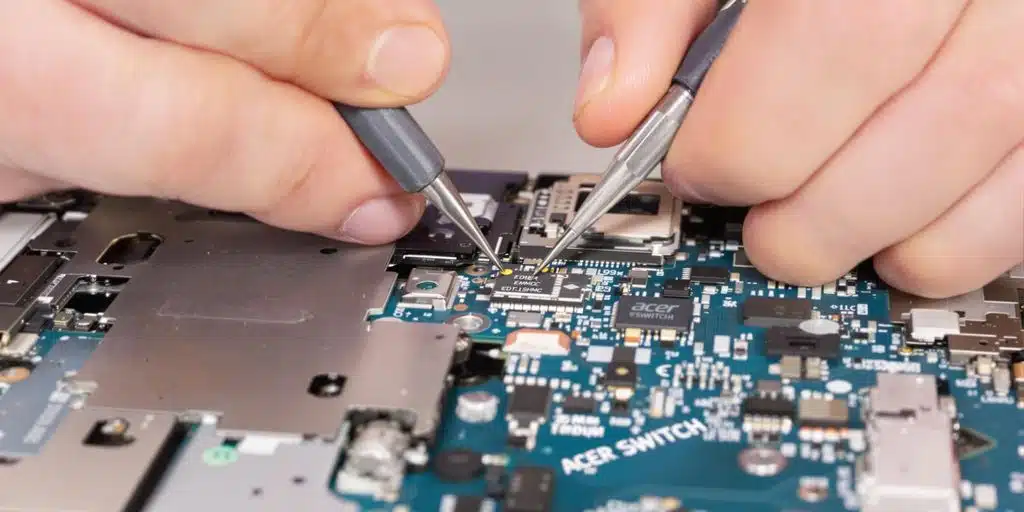
Acer Switch eMMC chip-off case study shows what the recovery process looks like when a 2-in-1 laptop will not power on and the customer’s data is stored on an embedded eMMC memory chip. In this job, the customer explained that their Desktop, Documents, and Pictures were stored on the soldered eMMC chip rather than the removable drive under the keyboard.
The technical challenge: embedded eMMC storage on a dead device
When an Acer Switch does not power on, software-based recovery tools cannot access the embedded storage because the memory chip is soldered to the logic board. The removable drive under the keyboard could be tested, but it was the D: partition and had no files saved to it. The only way forward was a chip-off recovery to read the embedded memory independently of the faulty hardware.
eMMC (Embedded MultiMediaCard) is a type of embedded flash storage commonly soldered to a device’s main board. Learn more about eMMC.
Acer Switch eMMC chip-off case study process
The recovery steps shown in the video were:
- Locate the eMMC chip: Identify the embedded memory chip on the logic board.
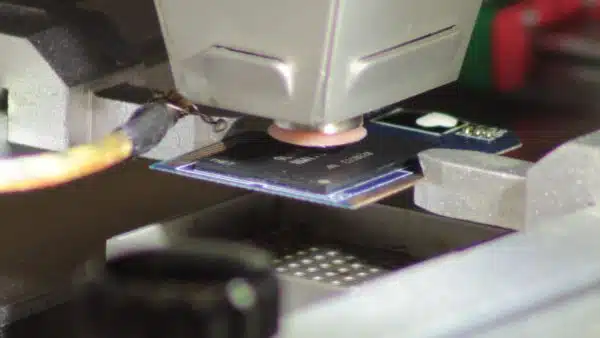
- Pre-heat the board: Heat the printed circuit board before removal to reduce thermal shock and help protect the chip during extraction.
- Remove the chip: Desolder the eMMC chip and allow it to cool.
- Clean the chip: Clean the chip contacts so it can seat correctly in a chip reader.
- Measure and select the reader: Measure the chip (11 mm by 13 mm) and choose the correct chip reader.
- Initial read attempt: The chip did not read on the first attempt.
- Reball and recondition: Reballing was performed to recondition the chip, then it was tested again.
Results: Imaging and file extraction
After reballing, the chip was successfully detected in the reader. The standard process shown was to create a full image (sector-by-sector clone) of the memory chip first, then use data recovery software to save the recovered files and folders to a destination USB hard drive.
Service process for Acer Switch and embedded storage recoveries
For devices like laptops, desktops, and storage media, we start with a free assessment and quote. You receive the quote within 1 to 2 business days, and work starts only after you approve it. Pricing depends on the fault and the recovery method required.
If your Acer Switch relies on embedded storage (eMMC or onboard SSD), chip-off recovery can be time-consuming and requires specialist equipment and handling. If you have already attempted repairs or disassembly, let us know, as this can affect the recovery approach.
Frequently asked questions
Can you recover data from an Acer Switch that will not power on?
Often, yes. If the device stores data on an embedded chip, a chip-off method may allow the data to be read directly from the memory chip.
Why did the removable drive have no files on it?
In this case, the removable drive under the keyboard was the D: partition and had no user files saved to it. The customer stated their files were stored on the embedded eMMC chip.
What is chip-off recovery?
Chip-off recovery is where the memory chip is physically removed from the logic board, then read using a compatible chip reader so a full image can be created for file extraction.
Why is pre-heating used before removing the eMMC chip?
Pre-heating the board helps reduce thermal shock during removal and can lower the risk of damaging the memory chip.
Why might the chip not read the first time?
In the video, the first read attempt failed. Reballing and reconditioning the chip was then performed, and the chip was successfully detected afterwards.
Where can I bring in or send my device?
We are based in Australia with labs in Sydney CBD, Rhodes NSW, Melbourne CBD, and Brisbane CBD, plus secure drop-off points in Adelaide CBD and Perth CBD. International customers are welcome, and devices can be sent by post or courier.
Payam Data Recovery works with individuals, students, families, small and medium businesses, IT companies, and organisations that need their data recovered safely and professionally. Some customers come to us with a single damaged device containing personal memories, while others rely on us for complex technical recoveries that require specialist tools and experience.
We are based in Australia and have been recovering data since 1998. Our clients also include governments, law enforcement agencies, corporations, and public figures. Every job is handled with 100 percent confidentiality and privacy.
Request a free quote
Read more about our SSD Data Recovery Service
Email: help@payam.com.au
Phone: 1300 444 800
Related storage and chip-level recovery case studies
- SSD Data Recovery Case Study Brisbane
- SSD NAND Degradation Recovery Case Study
- Failed SSD Data Recovery Hardware Repair
- Failed SSD Data Recovery Guide Australia
- SanDisk SSD Data Recovery Case Study