Case Study Summary
- Device: Western Digital hard drive
- Problem: Clicking sound and not detected
- Work shown in the video: Open drive, inspect platters, head replacement from an identical donor drive, PCB conversion to SATA, ROM transfer, then imaging
- Outcome: Drive detected, data area accessible, and data imaged to a good drive
WD clicking hard drive case study shows the recovery workflow for a Western Digital hard drive that was clicking and not being detected. The aim is to access the data area safely and image the drive, not to create a long-term “repair”. If your drive is clicking, keep it powered off and avoid repeated power cycles.
What clicking usually means
Clicking is often associated with read and write head problems. If the heads cannot read servo information correctly, the drive may keep retrying and click while failing to identify or stay detected.
For a technical overview of hard drive heads and how they interact with the media, see: Disk read-and-write head.
WD clicking hard drive case study process
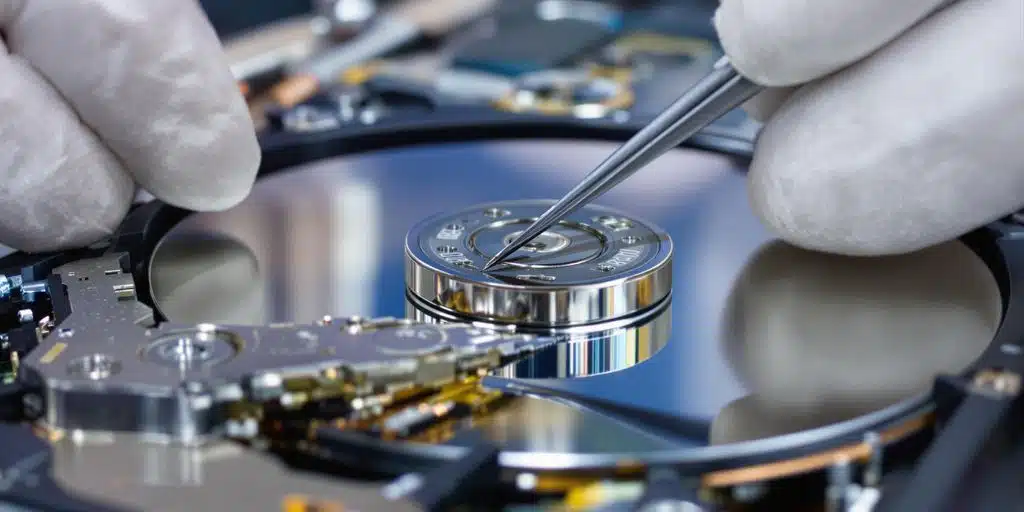
1) Open the drive and inspect for platter damage
The video shows opening the drive, removing the drive cover, removing the magnet, then preparing to remove the heads using a head comb. This helps reduce the risk of scratching the platters and further damaging the heads.
The heads are labelled to keep track of which head stack belongs to the customer’s drive. The platters are checked for scratches and media damage, including checking the underside of the platters.
2) Source an identical donor drive and transplant the heads
An identical donor drive is used. The donor drive is opened, the magnet is removed, and the good head stack is labelled. A head comb is used so the donor heads can be removed safely without the heads sticking together.
The donor heads are installed into the customer’s drive, the magnet is reattached, the head comb is removed safely, and the drive is reassembled with the cover and screws.
3) Convert to SATA and transfer the ROM
The video shows removing the original PCB. The workflow converts to a compatible SATA PCB, then the ROM chip is transferred using controlled heat. The board is cooled and cleaned, then the PCB is tested before it is fitted back onto the customer’s drive.
4) Detection, data access, and sector-by-sector imaging
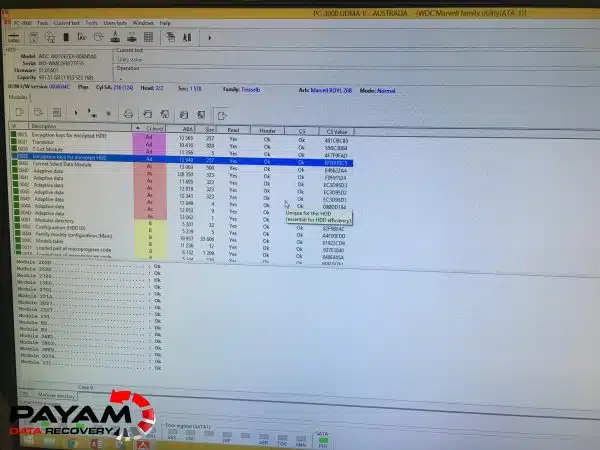
After the head replacement and ROM transfer, the drive is tested. In this case, the drive identified correctly, the data area became accessible, and the job moved to imaging. The drive was cloned to a good SATA 3.5-inch destination drive.
Hard drive recovery workflow
For hard drives, we start with a free assessment and quote. You receive the quote within 1 to 2 business days, and work starts only after you approve it.
Frequently asked questions
Can you recover data from a clicking hard drive that is not detected?
Often, yes. This WD clicking hard drive case study shows a workflow that restored detection and enabled imaging after a head replacement and ROM transfer.
Should I keep powering a clicking hard drive on and off?
No. Repeated power cycles can increase the risk of media damage if the heads are already compromised.
Why are the platters inspected before a head swap?
The video shows checking for scratches and media damage on the platters, including the underside. This helps determine whether the media looks safe to proceed.
Why use a head comb tool?
The head comb helps remove and install heads more safely, reducing the risk of the heads touching the platters or sticking together.
Why transfer the ROM chip to a compatible SATA PCB?
The ROM contains drive-specific information used for identification and access. In the video, the ROM is moved to a compatible SATA PCB before final testing and imaging.
What happens after the drive is detected?
The next step is typically to image the drive sector by sector to a stable destination drive, then work from the clone rather than the failing original.
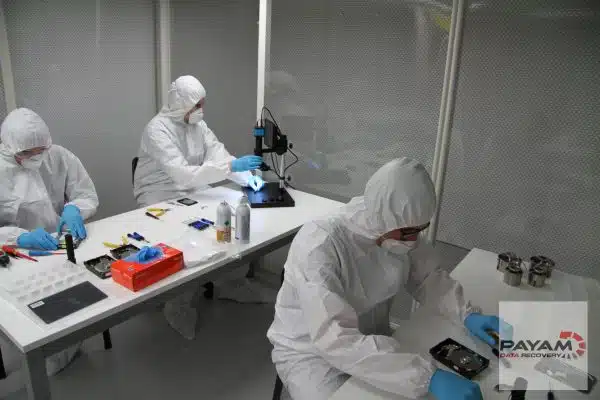
Payam Data Recovery works with individuals, students, families, small and medium businesses, IT companies, and organisations that need their data recovered safely and professionally. Some customers come to us with a single damaged device containing personal memories, while others rely on us for complex technical recoveries that require specialist tools and experience.
We are based in Australia and have been recovering data since 1998. Our clients also include governments, law enforcement agencies, corporations, and public figures. Every job is handled with 100 percent confidentiality and privacy.
Request a free quote
Read more about our Hard Drive Data Recovery Service
Email: help@payam.com.au
Phone: 1300 444 800
Related hard drive data recovery case studies
- Clicking Hard Drive Recovery WD My Passport Case Study
- Seagate Clicking Drive Case Study
- Hard Drive PCB Repair Case Study
- Hard Drive Data Recovery Case Study