Case Study Summary
- Client: Private customer (Australia)
- Device: iPhone XS Max
- Problem: Device not turning on due to main power line short circuit
- Solution: Motherboard splitting, short circuit isolation, component removal
- Outcome: Successful data recovery after restoring stable power
This iPhone XS Max Data Recovery case study documents a recovery from a device that would not turn on due to a short circuit on the main power line. The phone showed no signs of life and required advanced component level diagnostics to restore stability long enough for data extraction.
The Problem: iPhone XS Max Not Turning On
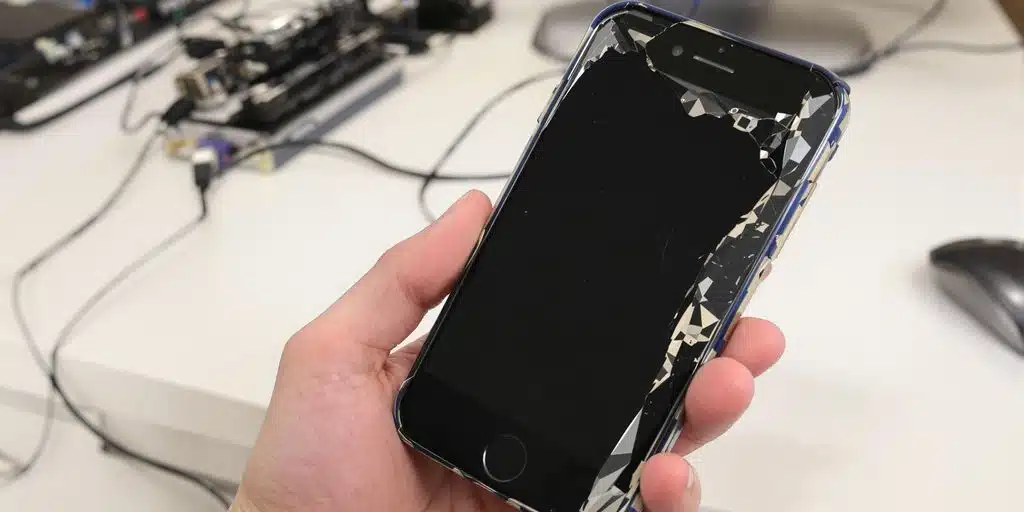
When this iPhone XS Max arrived, it would not power on at all. Initial testing involved measuring current draw, which immediately indicated an abnormal power consumption pattern consistent with a short circuit on the main power line.
Issues like this cannot be resolved with screen or battery replacement. Professional Apple iPhone data recovery is required when faults exist at the logic board level.
The iPhone XS Max Data Recovery Case Study Process
The goal of this recovery was to isolate the short circuit, restore stable power, and extract the data before performing any permanent board repair.
- Current testing: Measuring power draw to confirm a short on the main power line
- DC power injection: Injecting voltage directly into the affected circuit
- Motherboard removal: Isolating the logic board from the chassis
- Freeze spray analysis: Locating the overheating component
- Motherboard splitting: Heating the board to approximately 250 degrees to access internal layers
- Component removal: Removing a blown capacitor located near the main power IC
- Mounting jig emulation: Temporarily rejoining the board layers for safe data extraction
All work was performed in Australia using specialised microsoldering and diagnostic equipment designed for modern iPhone logic boards.
iPhone XS Max Data Recovery Case Study Results
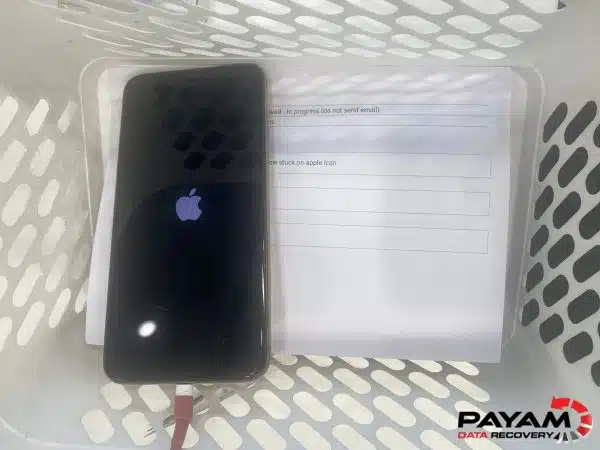
After removing the faulty component and restoring stable power, the iPhone XS Max powered on successfully. Touchscreen functionality was verified to ensure the device would remain operational long enough to complete the data extraction.
This iPhone XS Max Data Recovery case study resulted in a full backup of the device, with customer data safely transferred to an external drive.
Why Professional iPhone Data Recovery Matters
Modern iPhones use multi layer printed circuit boards with components embedded between internal layers. Accessing these layers requires controlled heat, precision tools, and experience with board level architecture.
Printed circuit board design is explained in detail by
Wikipedia, and helps illustrate why this type of recovery cannot be performed by standard repair methods.
iPhone Data Recovery Pricing and Service Options
All mobile phones and tablets including iPhone are fixed price services. There is no pre quote testing for mobile devices.
- Economy: $795
- Priority: $1,500
- Emergency: $2,500
There is no attempt fee for mobile phone data recovery. Payment is only required after successful recovery. The device passcode or PIN is mandatory due to Apple encryption.
Frequently Asked Questions
Why will my iPhone XS Max not turn on?
A common cause is a short circuit on the main power line, often due to a failed capacitor or power management component.
Can data be recovered if the motherboard is faulty?
Yes, in many cases data can be recovered by stabilising the logic board long enough to perform extraction.
Is motherboard splitting safe?
When performed by experienced engineers using controlled heat and specialised tools, motherboard splitting can be done without damaging data.
Can you recover deleted iPhone data?
No. Deleted data cannot be recovered due to Apple encryption.
Is my passcode required?
Yes. Without the correct passcode, iPhone data recovery is not possible.
What happens if data cannot be recovered?
If recovery is unsuccessful, no payment is required.
About Payam Data Recovery
Payam Data Recovery works with individuals, students, families, small and medium businesses, IT companies, and organisations that need their data recovered safely and professionally. Some customers come to us with a single damaged device containing personal memories, while others rely on us for complex technical recoveries that require specialist tools and experience.
We are based in Australia and have been recovering data since 1998. Our clients also include governments, law enforcement agencies, corporations, and public figures. Every job is handled with 100 percent confidentiality and privacy.
Request a Free iPhone XS Max Data Recovery Quote
Read more about our iPhone Data Recovery Service
Email: help@payam.com.au
Phone: 1300 444 800
Related Data Recovery Case Studies
- iPhone will not turn on data recovery case study
- Liquid damaged iPhone data recovery case study
- iPhone storage full data recovery case study